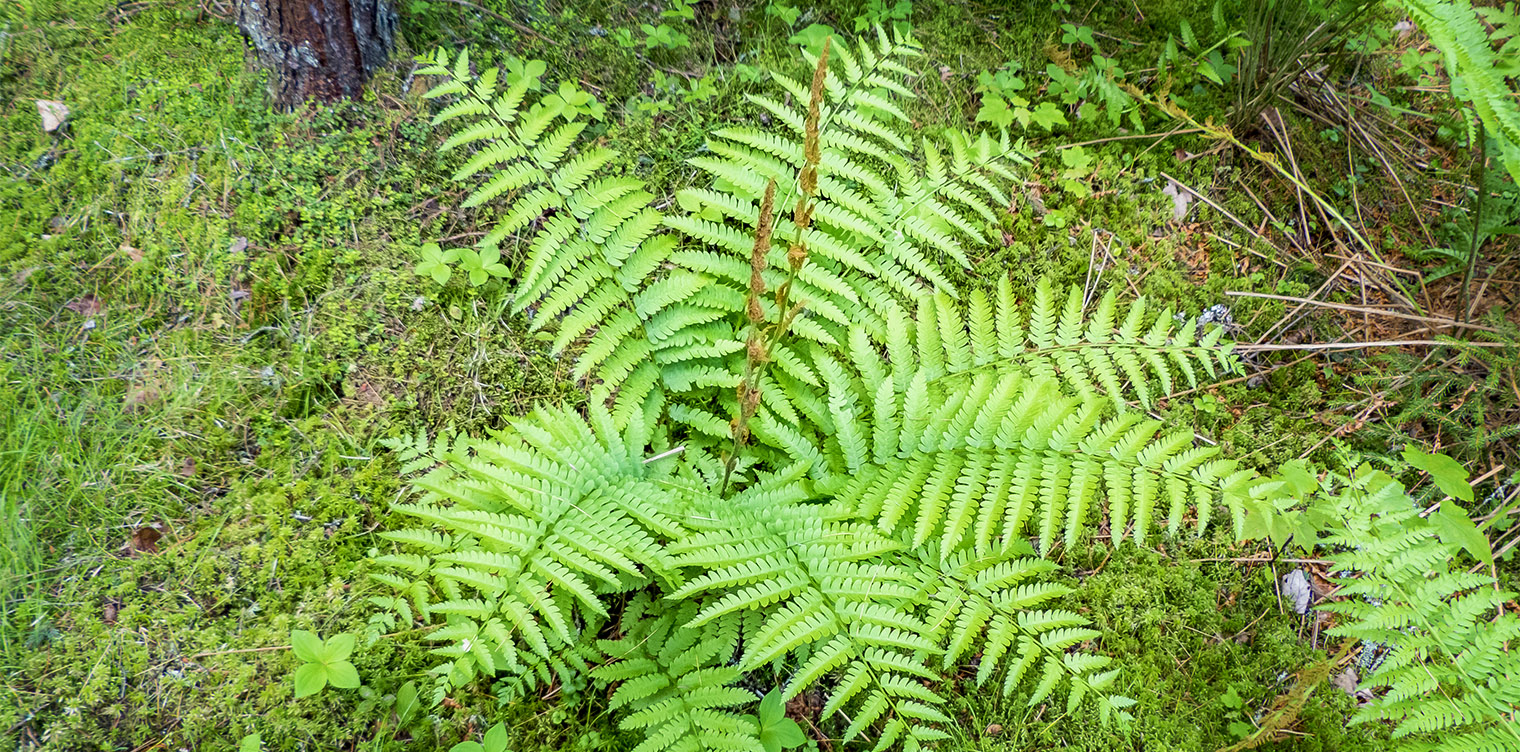
Osmundastrum cinnamomeum
The cinnamon fern is gorgeous, cold-hardy, and a breeze to grow.
With practically no pest or disease issues, you won’t have to dote on or fret about it like you would other, wimpier plantings.
Plus, you have the option to propagate spores, which is an enlightening experience for any gardener who hasn’t done so before.
We link to vendors to help you find relevant products. If you buy from one of our links, we may earn a commission.
I’m not gonna lie – writing this guide has me hankering for a snickerdoodle. With each time I type the word “cinnamon,” my appetite only grows.
Hopefully your desire for a cinnamon fern rivals my jonesing for a cinnamon-dusted sugar cookie by the time you reach the end of this guide.
This plant is sure to find a place in your garden. And after reading this guide, you’ll be well-equipped to keep it happy and vibrant all throughout its stay.
Here’s the curriculum:
What Are Cinnamon Ferns?
Hardy in USDA Zones 3 to 9 and originating from the Americas and eastern Asia, cinnamon ferns – aka Osmundastrum cinnamomeum – belong to the Osmundaceae, i.e. the royal fern family.
Interestingly enough, O. cinnamomeum is actually the sole species in this genus, and isn’t known to hybridize with other ferns.
The genus name Osmundastrum acknowledges this plant’s status as a royalty – “Osmunder” was the Anglo-Saxon name for Thor, the god of thunder.
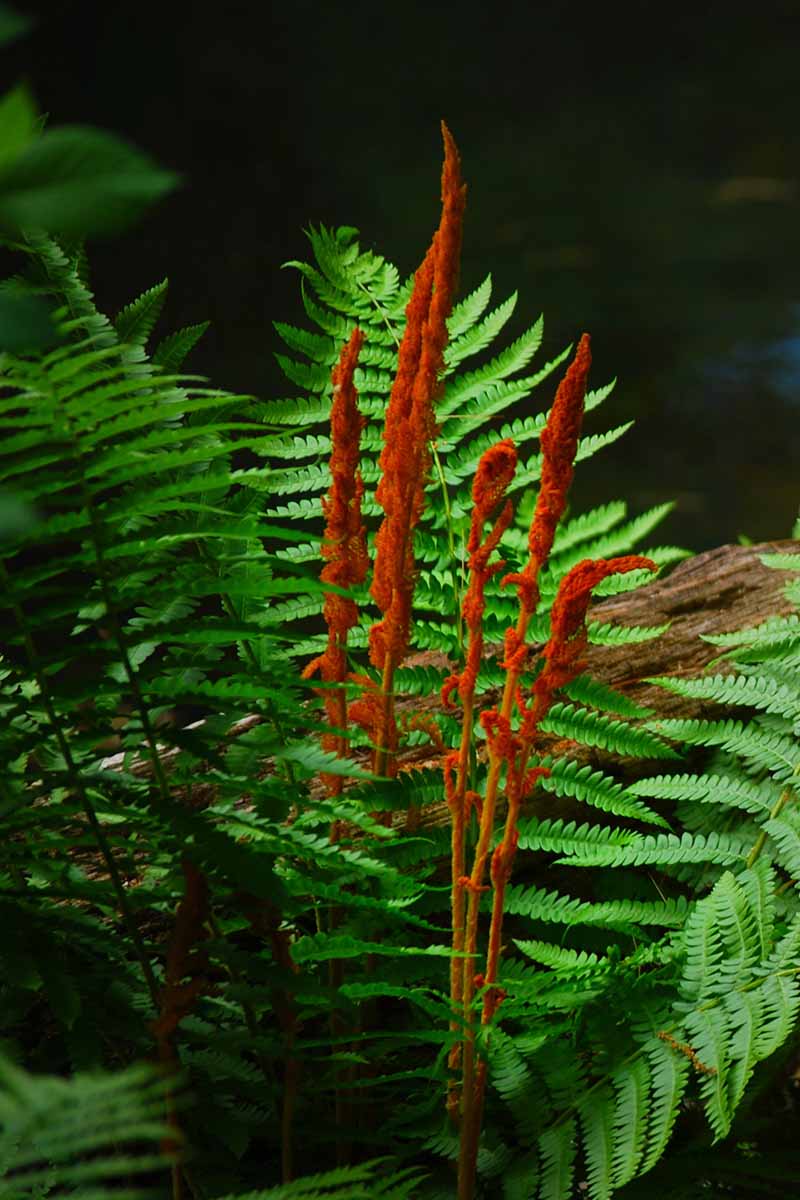
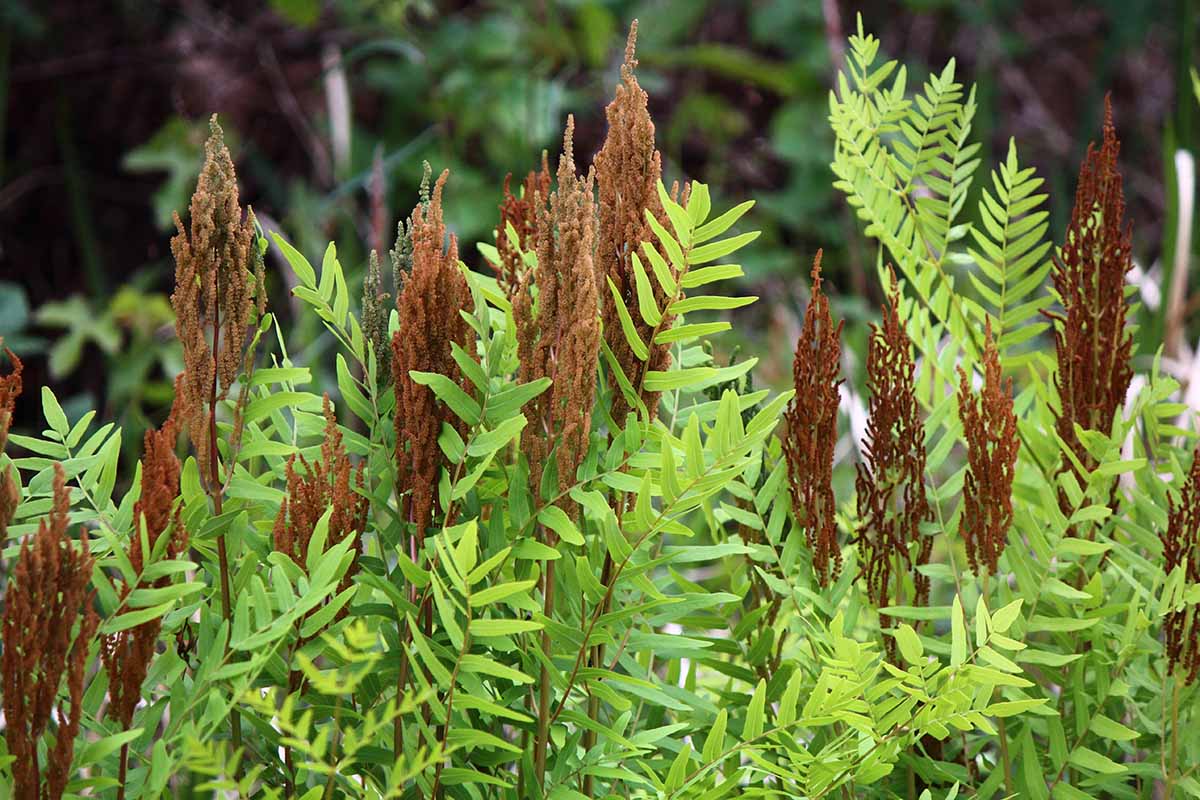
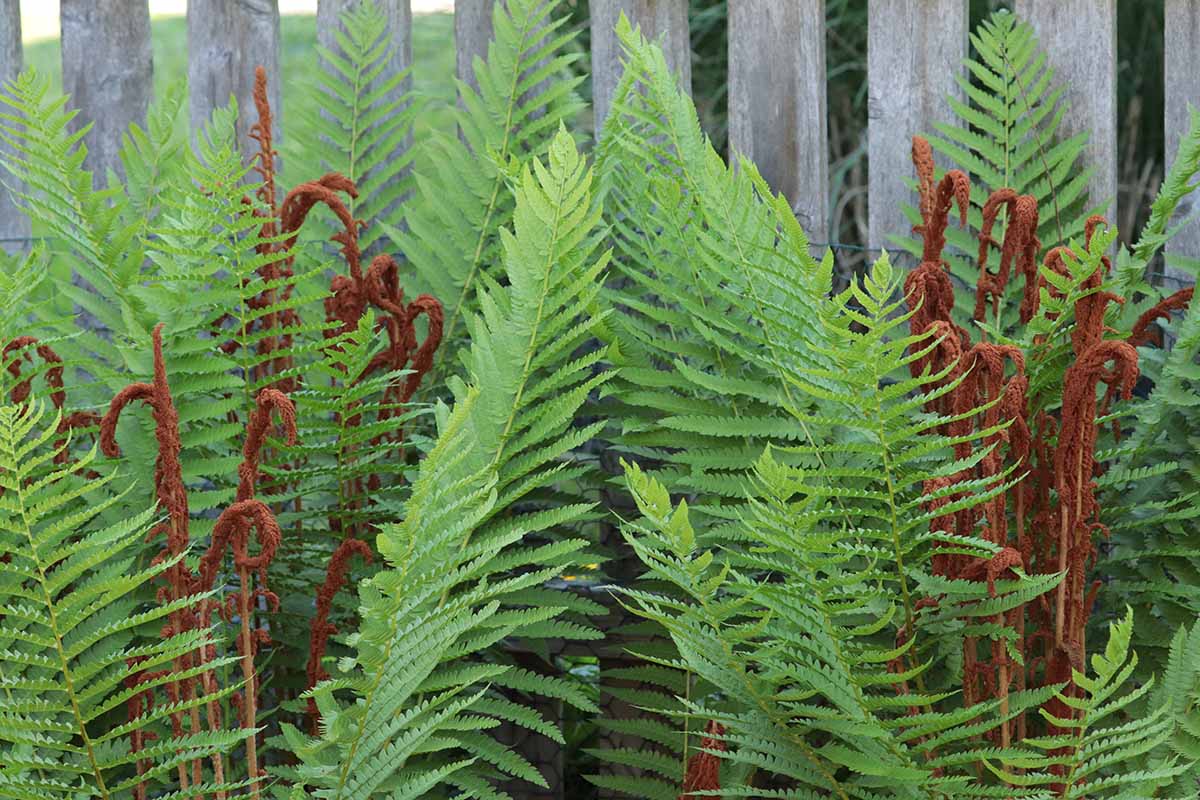
As the son of Odin the Allfather and heir to the throne of Asgard, Osmunder definitely received the royal treatment. The species name “cinnamomeum” refers to the brown, cinnamony shade of the spore-producing fronds.
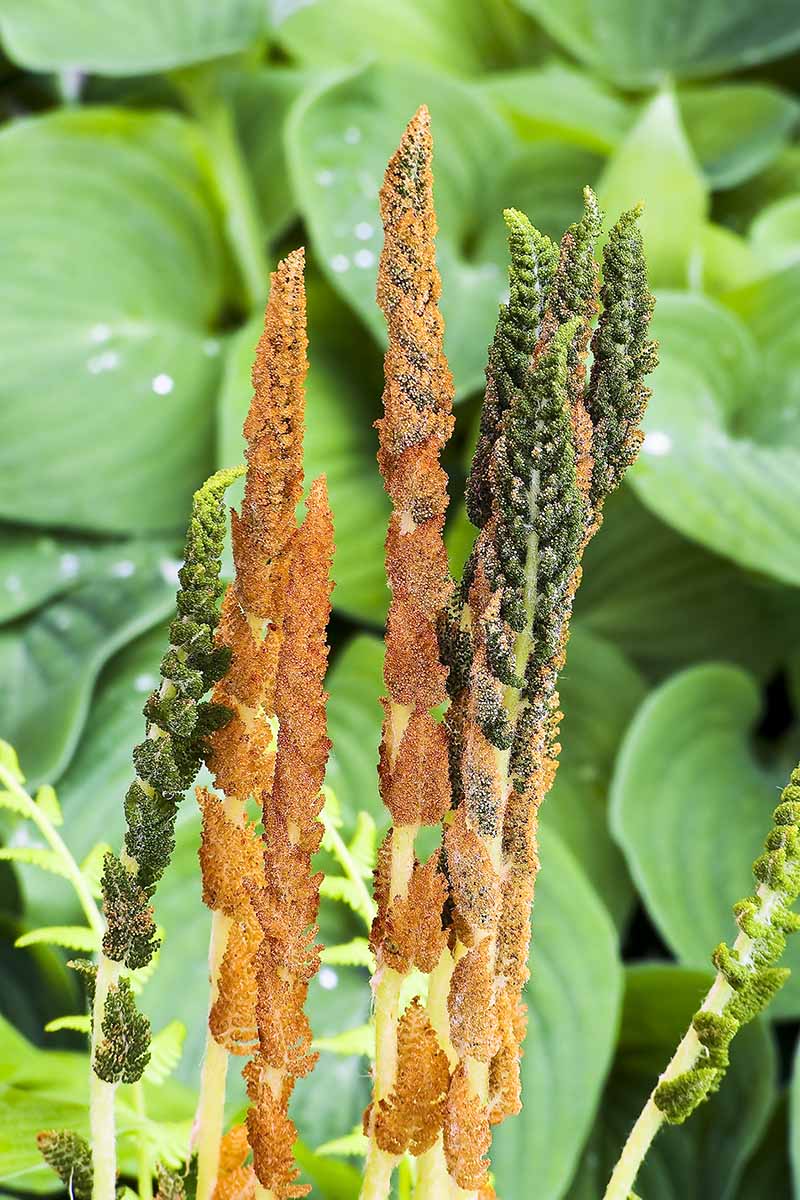
Said fertile fronds also differentiate themselves by sticking way more stiffly upright, while the sterile fronds are light green and have a more natural-looking arch to them.
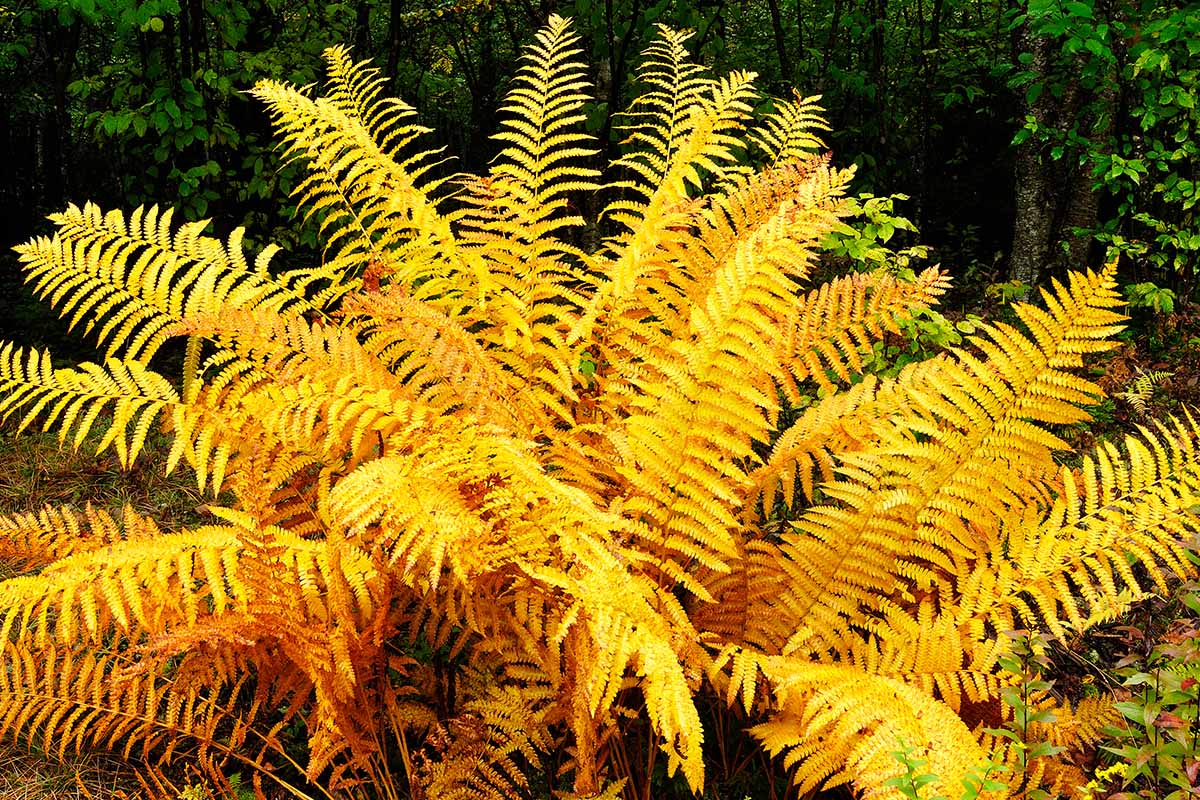
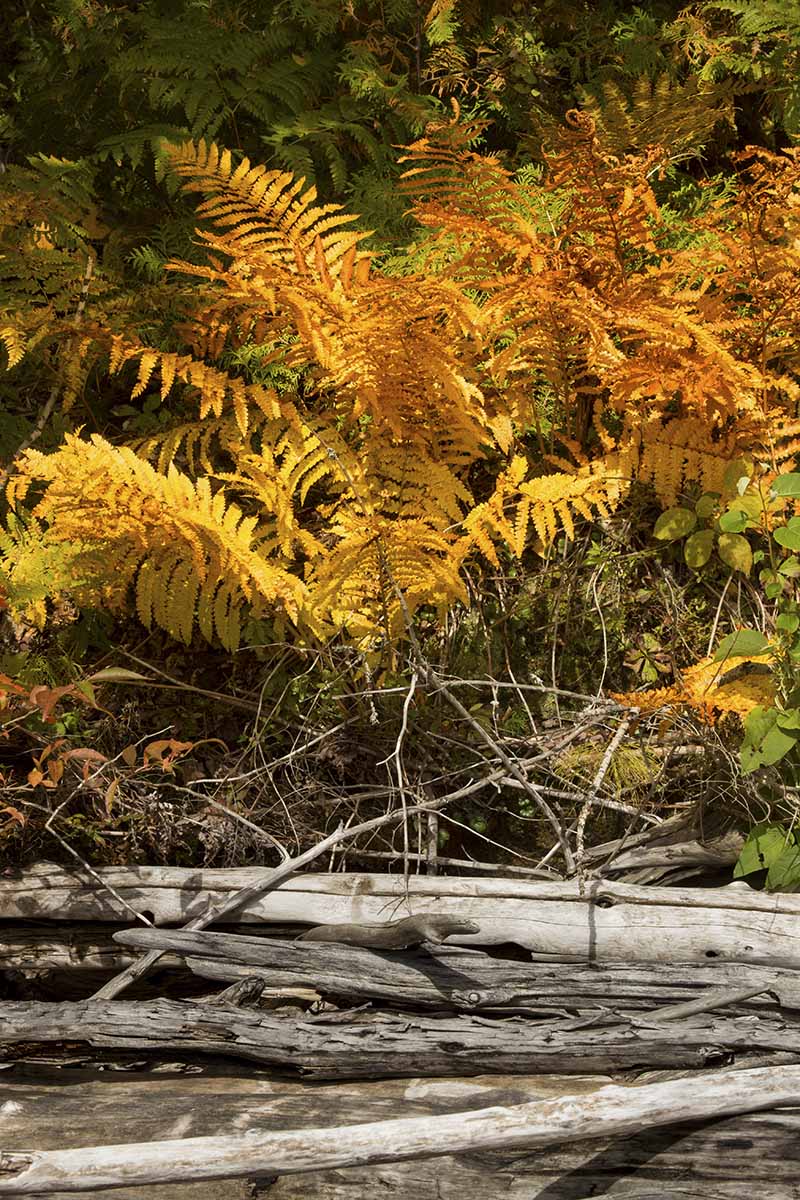
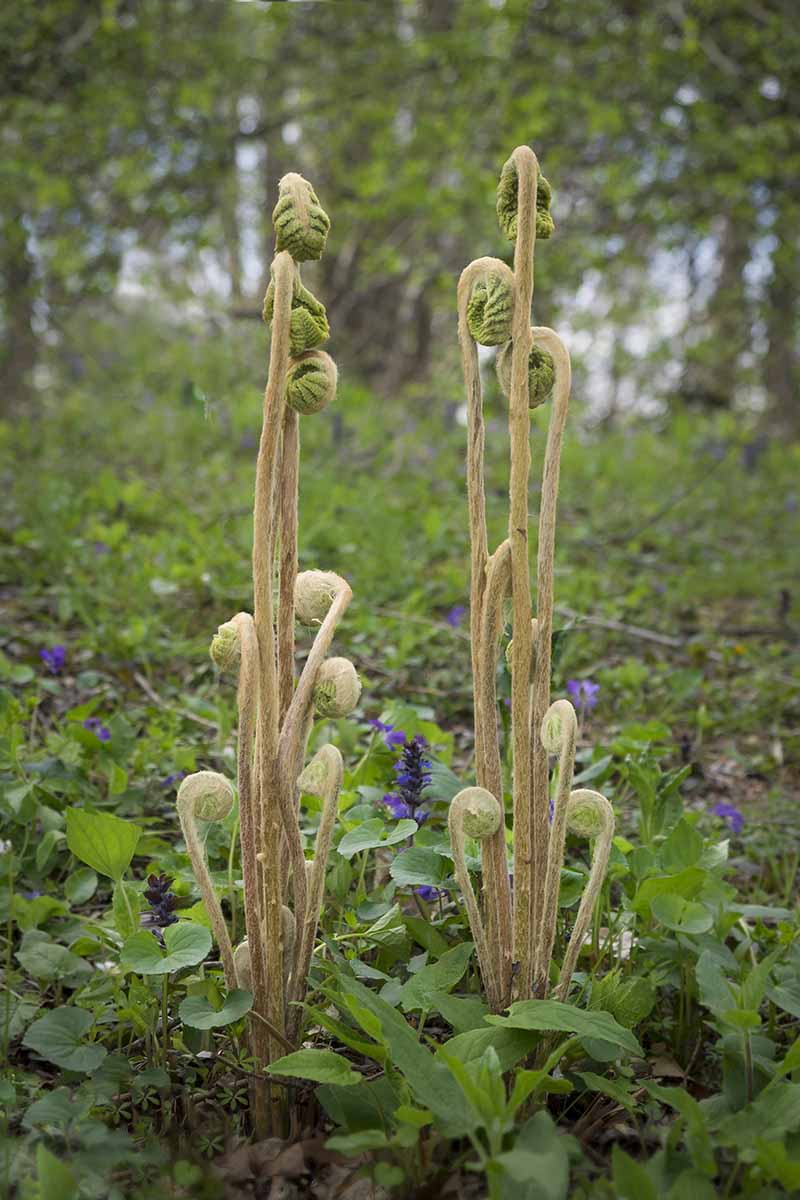
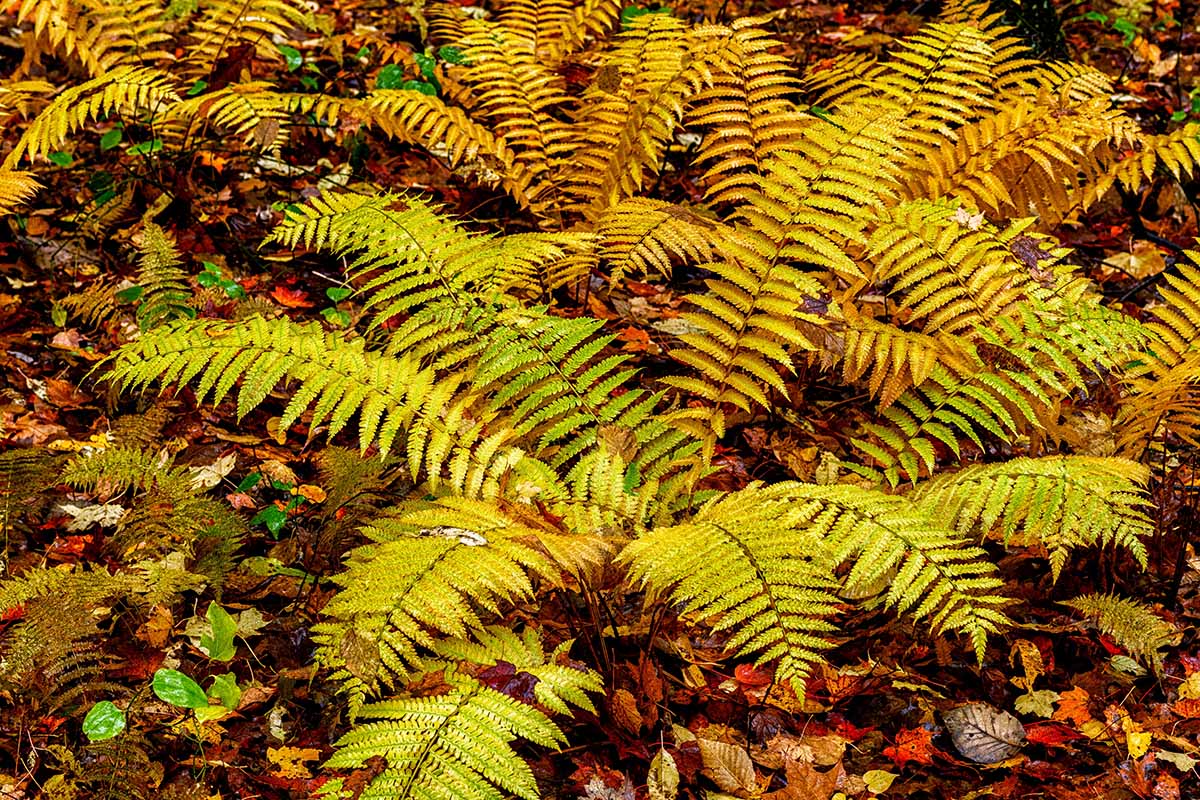
Fronds take on yellow and orange hues in autumn as they die back, before brownish-green fiddleheads emerge the following spring.
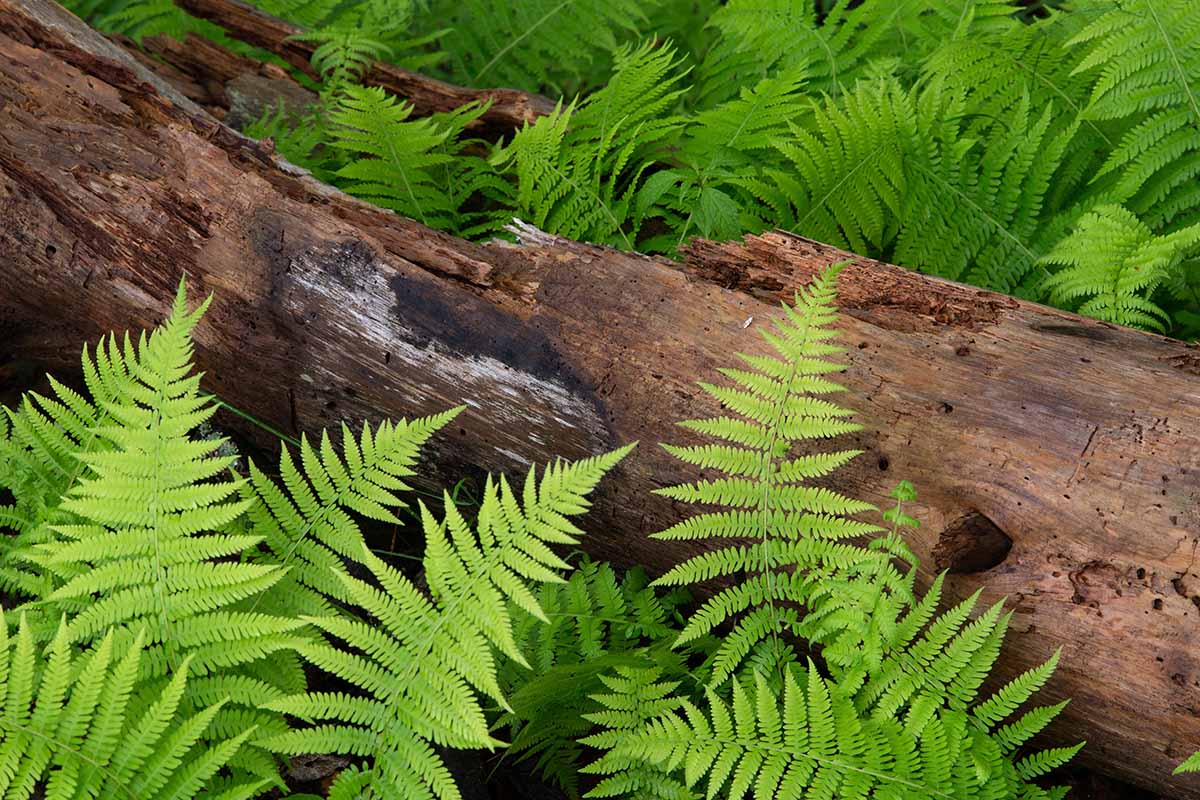
The individual leaflets or pinnae are lance-shaped and have a nearly opposite arrangement, each with deeply cut margins and dense, rusty hairs at their base.
The plant as a whole has a cascading habit and an average height and width of two to three feet, but these can grow to five-foot heights when given consistent moisture.
Cultivation and History
Believe it or not, the cinnamon fern first appeared in the fossil record up to 75 million years ago, making it a living fossil alongside the ginkgo tree, the horseshoe crab, and that one T. rex skeleton from “Night at the Museum.”
Different groups of Indigneous Americans found various uses for O. cinnamomeum.
Cherokee people used it to treat chills, rheumatism, and snakebites, while the Iroquois used it to treat joint pain, menstrual cramps, and sexually transmitted disease. Additionally, some Menominee ate the plant so they wouldn’t alarm any deer that they hunted.
For any hobbyist foragers reading this, these plants are regarded as mildly toxic, and many ferns contain thiaminase, an enzyme that leeches B vitamins from the body.
Cinnamon ferns are technically edible and many choose to eat the unexpanded fiddleheads raw or cook them like asparagus. Note that thiamine is destroyed in cooking, with the application of heat.
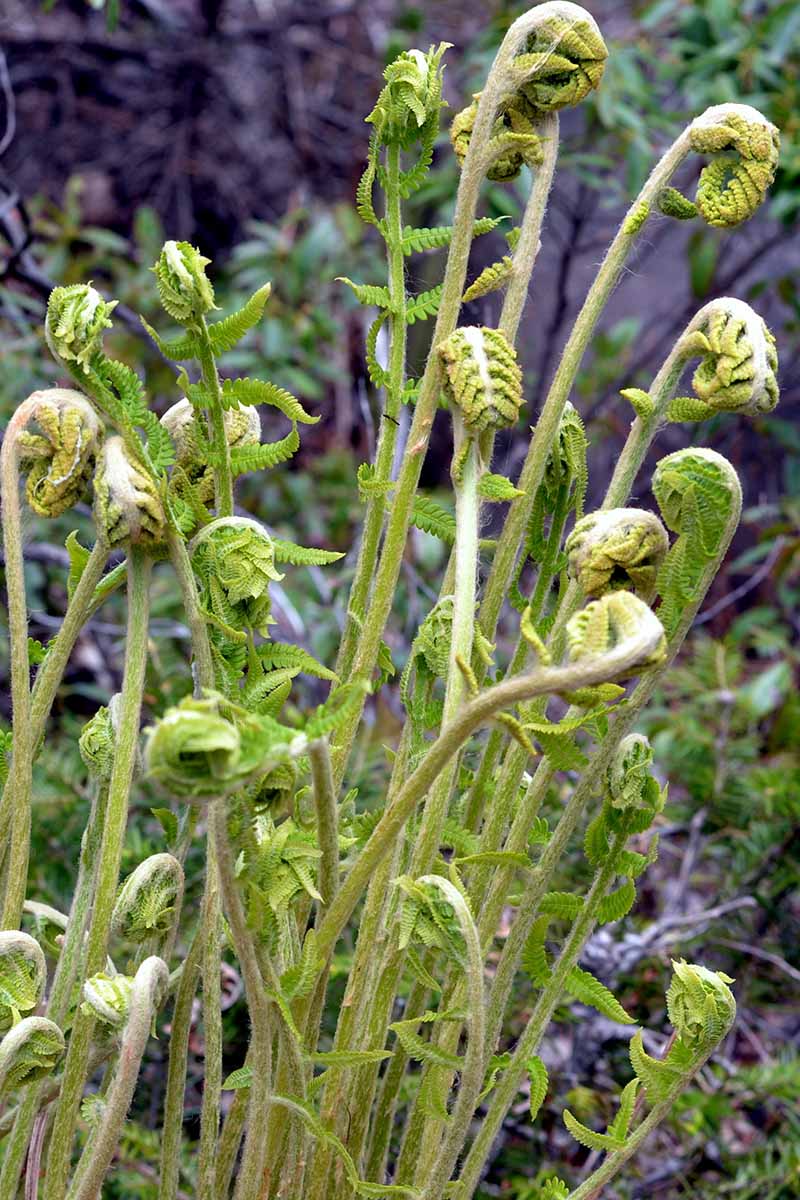
It’s hard enough for me to eat regular asparagus without copious amounts of salt and olive oil, but if you find the fiddleheads palatable and they don’t cause nausea or a headache, then more power to ya.
But please note as well that all parts of the cinnamon fern are now recognized as carcinogenic.
Besides its applications as a garden ornamental, fiber from the roots of cinnamon ferns is sometimes used in growing media for orchids as a way of providing their roots with some much-needed ventilation.
Propagation
Cinnamon ferns can be propagated from spores, divisions, or transplants, which are ordered here in descending difficulty.
From Spores
This is the toughest propagation method on this list, but also the most rewarding.
Ferns go about reproduction a bit differently than seed-producing flora, and their fascinating life cycle is definitely worth rehashing:
Beneath the pinnae of fertile fronds are sori, which contain spore-producing structures known as sporangia.
These organs drop their spores, which float away on the wind, land, and eventually germinate into prothalli, which create egg and sperm cells within themselves.
Fertilization occurs, baby ferns emerge from the prothalli, and the circle of life continues.
O. cinnamomeum drops its spores from May to June, so make sure to leave a note in your gardening journal and check your calendar. During this time, cut away a fertile frond from the rest of the plant.
To the best of your ability, since these are prone to scrunching up and curling, spread the frond flat atop a clean sheet of paper before draping a second sheet on top of the frond.
Leave your frond-on-paper sandwich somewhere indoors where it won’t be disturbed by drafts or nosy roommates. About 24 hours later, check for dropped spores.
If they’ve dropped successfully, you should see spores on the paper in the pattern of the frond. If not, they’ll appear faint or they’ll be missing entirely, which indicates that you harvested the frond either too early or too late.
Collect the spores in an envelope and place it in the refrigerator. Spores can be sown in any season and they’ll last for years in the refrigerator, so take your time in deciding when you want to use them!
Is it sowing time?
Then fill a three- to four-inch pot with an equal mix of sphagnum peat moss and perlite – the former for moisture retention, the latter for drainage.
Tamp down the surface, water well, then spread a match-head-sized amount of spores across the soil surface.
Seal the pot in a gallon-size zip-top plastic baggie before placing it on a sunny windowsill that – if you’re in the Northern Hemisphere – faces east in summer or south in winter.
Maintain soil moisture and indoor temperatures of 65 to 75°F throughout this process.
Green prothalli should form on the soil surface in several weeks’ time. To stimulate fertilization, open the bag and mist them when they reach a quarter-inch in height, then zip it back up.
No baby ferns after three months? Dilute a proper dose (according to instructions) of liquid houseplant fertilizer down to quarter-strength by adding three parts water per one part fertilizer, then apply it to the potting medium. Reapply once every three months.
After the baby ferns emerge and grow an inch or two tall, separate them into clumps of two or three.
Each clump should be transplanted into its own pot filled with the same medium described above, or into a large tray with two inches of space between each.
Either bag the containers up or put them in a terrarium where warm and humid conditions can be maintained. In two weeks, unzip the baggies or leave the terrarium lid ajar so the plants can start to acclimate to less humid conditions.
Nine months post-sowing, the plants should be ready to harden off.
On a spring day when the risk of frost has passed, leave the baby plants outside in partial to full shade for 30 to 60 minutes before bringing them back indoors.
Add 30 minutes to a full hour of outdoor exposure on each successive day until the baby ferns can last a full day outside, at which point they’ll be ready to transplant into the garden.
From Divisions
Find spores a bore? Crunched for time? Dividing is a bit easier, and definitely faster.
Dividing a mature fern should occur every three to five years, on average. If you simply want additional plants, then that’s reason enough to divide.
But once you notice that the center of your fern is dead, or that frond growth is smaller than normal, division becomes quite necessary.
In early spring or right after the first frost in fall, deeply irrigate the cinnamon fern that you intend to divide.
Cut the fronds back to half a foot above the ground, then dig a circle around the plant spaced four to six inches away from the outermost fronds with a shovel, spade, or garden fork.
Lever the plant out of the ground with your digging implement, remove any loose soil from the roots, then put the to-be-divided fern on a tarp so you can easily keep track of your divisions.
Slice the root ball into daughter plants of equal size. Four divisions is a solid amount, but more or less than that is all good. Once you have your divisions, it’s transplanting time!
Via Transplanting
If you had access to a mature plant and followed either of the above propagation methods correctly, you should have some O. cinnamomeum ready to go.
Dig holes big enough for the root systems of your transplants. Plop the transplants in the holes, use the dug-out soil for backfilling, and then deeply water the transplants. Keep the soil moist.
How to Grow
Much like cinnamon rolls, cinnamon ferns require certain ingredients for success. Here’s the recipe for growing O. cinnamomeum:
Climate and Exposure Requirements
Temperature-wise, this plant is pretty versatile – it’s able to grow in USDA Hardiness Zones 3 to 9.
Like most ferns, O. cinnamomeum does well in full to partial shade. And it can even tolerate deep shade.
Soil Requirements
In addition to an acidic soil pH, O. cinnamomeum requires highly fertile soil that drains quite well.
Specifically, a pH range of 4.5 to 6.9 is acceptable. Add a couple inches of organic matter such as compost or rotted manure to the soil each fall to improve fertility. Make sure to really work it into the soil above the root zone!
Irrigation and Fertilizer Requirements
As a plant that’s commonly found near woodland brooks or streams, cinnamon ferns love moist soils. Choose a moist but well-draining location, and maintain moisture as needed by irrigating well whenever the surface of the soil feels dry.
Over time, you’ll gain an intuitive sense of whether the soil actually feels dry or not – early on, it can be pretty easy to mistake cool soil for wetness, and vice versa.
Most of your plant’s nutritional bases will be covered by amending the nearby soil with organic matter. An application of slow-release, balanced fertilizer in spring will be icing on the cake.
Growing Tips
- Planting in USDA Hardiness Zones 3 to 9 is required for plants to thrive.
- Cultivate well-draining, fertile, and acidic soil.
- Whenever the surface of the soil feels dry, it’s watering time!
Maintenance
Giving any broken or necrotic fronds that you see the ol’ “snip-snip” with sterilized scissors should help keep your cinnamon ferns healthy and looking ship-shape!
Mulching the soil around the crown of your plants each spring with a few inches of pine straw or fallen leaves will mimic the moisture-conserving conditions of a forest floor, along with providing a natural-looking aesthetic.
Where to Buy
The go-to places for acquiring plants are garden centers or plant shops, while plant swaps and exchanging divisions with a friend can also serve to build meaningful relationships with your fellow green thumbs.
But if all that human interaction sends chills up your introverted spine or you’re short on time, many online vendors will hook you up with a cinnamon fern to be delivered to your home, no small talk required.
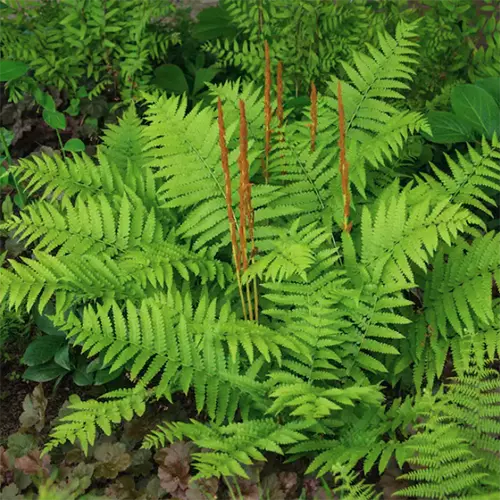
Cinnamon Fern
The Home Depot and Nature Hills Nursery have cinnamon ferns available for purchase.
Managing Pests and Disease
All it takes for disaster to strike is the smallest of vulnerabilities.
Exhibit A: the thermal exhaust port that Luke shot two proton torpedoes into, which resulted in the first Death Star blowing up in “Star Wars Episode IV: A New Hope.” Exhibit B: an improperly cultivated plant, which could leave you with a garden-wide infestation or infection.
Proper care makes for healthy plants, and healthy plants can better handle pests and pathogens. We don’t want to have to build a second Death Star here.
Herbivores
There’s not much to worry about when it comes to our furry, flora-munching friends. Especially deer and rabbits – cinnamon ferns are quite resistant to them.
Insects
Managing insects also works to manage disease, since bugs can vector pathogens between different plantings. But when it comes to O. cinnamomeum, there’s only one major creepy-crawly worth worrying about…
Osmunda Borers
Also known as Papaipema speciosissima, the Osmunda or regal fern borer moth has a wingspan one-and-a-half to two inches long, and a fuzzy orange and grayish-brown body.
The forewings are orange and striped, with two reflective notches each, while the rear wings are a grayish-brown with rusty, reddish markings.
These pests produce larvae that bore into the roots of ferns such as O. cinnamomeum in summer after a period of overwintering in nearby soil or plant detritus.
This root boring obviously damages said roots, along with causing problems above the soil line such as frond wilting, yellowing, and overall stunted growth.
Along with clearing away any plant detritus, dusting diatomaceous earth around the root zones of your cinnamon ferns can help to prevent larval boring.
If infestation has already occurred, beneficial nematodes such as H. bacteriophora and S. carpocapsae will parasitize the larvae. Pitch any plant with symptoms that render it too far gone.

Safer Diatomaceous Earth
Safer brand diatomaceous earth is available in four-pound packages from Amazon.
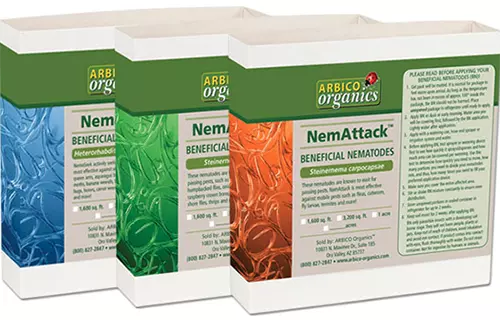
Triple Threat Combo
Arbico Organics offers a “Triple Threat Combo” of H. bacteriophora, S. carpocapsae, and S. feltiae that’s sure to target P. speciosissima larvae with extreme prejudice.
Disease
Sterilizing garden tools, propagating from healthy plants, and using pathogen-free soil are all easy and effective methods of preventing disease occurrence.
Crown and Root Rot
Whenever an O. cinnamomeum is sitting in soil that doesn’t drain well, its roots can become waterlogged.
Excessive moisture prevents the roots from taking up enough oxygen, which leads to stunted growth, necrotic crowns and roots, wilting, and/or chlorotic foliage.
Additionally, certain pathogens love wet conditions such as oversaturated soil. Such environments encourage their presence and subsequent infection.
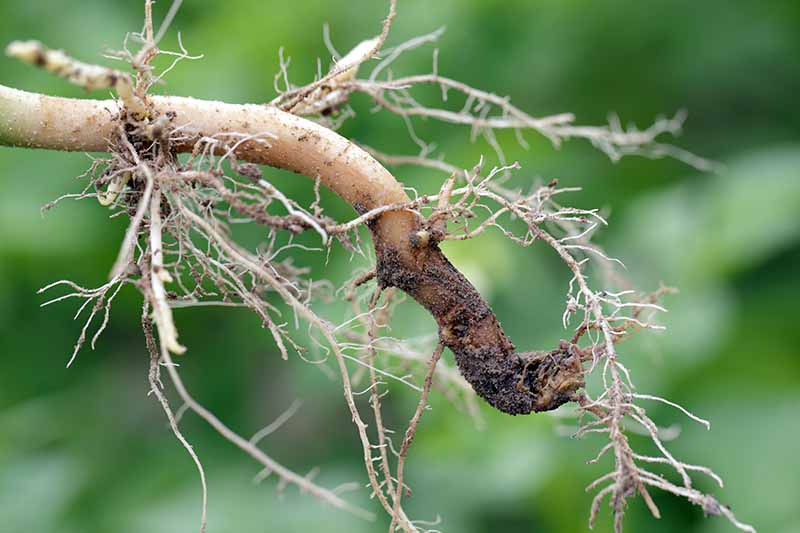
There’s not much you can do reactively besides pitching infected and rotted-out plants, so it’s best to focus on prevention.
Avoiding overwatering and ensuring that the soil is well-draining are the two most important things that you can do to prevent rot.
Best Uses
Since these guys love moist soil, placing them along the banks of a waterway on your property such as a stream or pond would be both a smart and aesthetic choice.
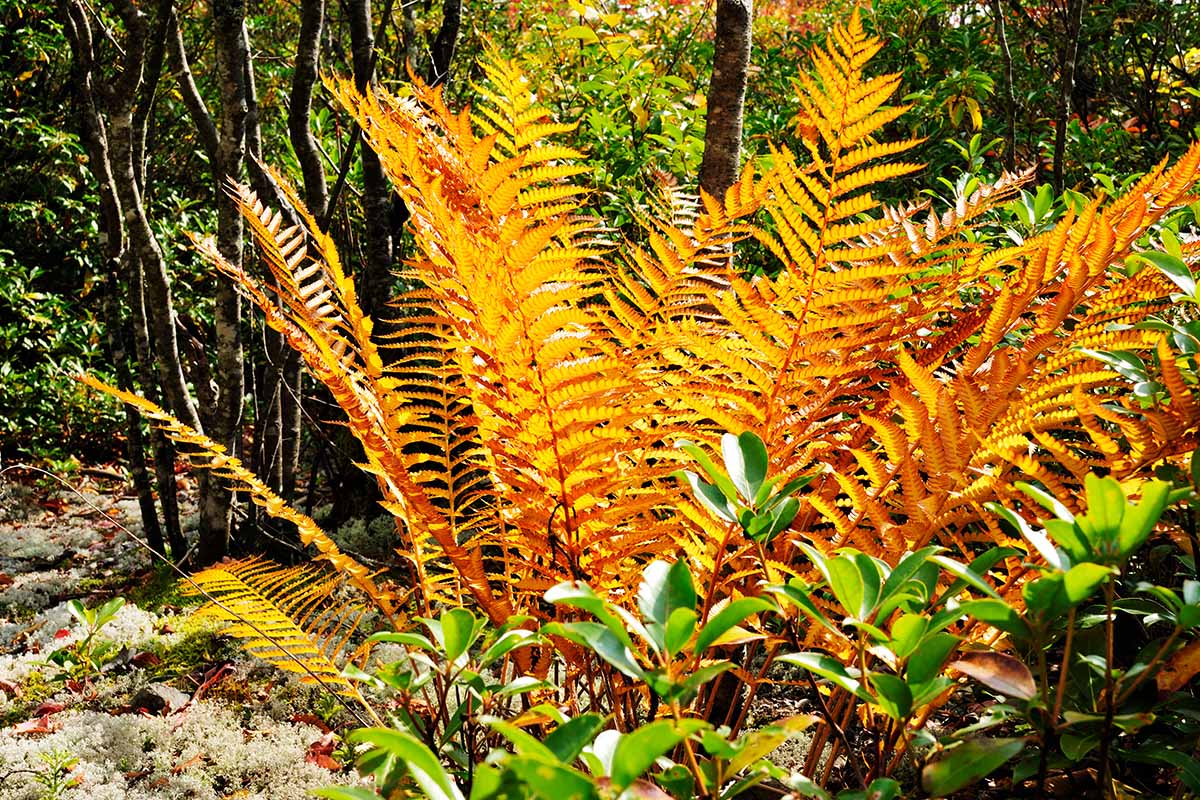
A line of cinnamon ferns makes for an effective border, and masses of them work wonders for filling in empty spaces in the landscape.
Their fronds provide a nice backdrop for plants with striking non-green color, too – calla lilies, irises, and fritillaires are all colorful specimens that thrive in moist soils.
Quick Reference Growing Guide
| Plant Type: | Herbaceous perennial | Foliage Color: | Light green, yellow, orange, brown |
| Native to: | North, South, and Central America, eastern Asia | Maintenance | Low |
| Hardiness (USDA Zone): | 3-9 | Tolerance: | Deer, heavy shade, juglone, rabbits |
| Exposure: | Partial to full shade | Soil Type: | Fertile |
| Time to Maturity: | 4-5 years | Soil pH: | 4.5-5.9 |
| Spacing: | 24 inches | Soil Drainage: | Well-draining |
| Planting Depth: | Depth of root system | Attracts: | Small mammals, songbirds |
| Height: | 2-3 feet | Uses: | Accent, along waterways, border, mass planting |
| Spread: | 2-3 feet | Family: | Osmundaceae |
| Water Needs: | High | Genus: | Osmunda |
| Common Pests and Diseases: | Osmunda borer moths; crown and root rot | Species: | Cinnamomea |
From Tiny Spore to Garden Decor
A new pair of glasses and a slightly different haircut made me feel like a new man when I was fresh out of college. But my meager glow-up doesn’t hold a candle to the cinnamon fern, which gloriously springs from a simple spore in less than a year.
I’ve gotta tip my hat to O. cinnamomeum. Tough, low-maintenance, and just plain stunning, this is a plant that truly deserves its royal status.
Questions or comments about growing this plant can go in the comments section below! Your input could really help your fellow gardeners, so don’t be shy!
Want to keep the fern journey going? Then hop aboard the pteridophyte train:
